Lightness Glitch: A Primer.
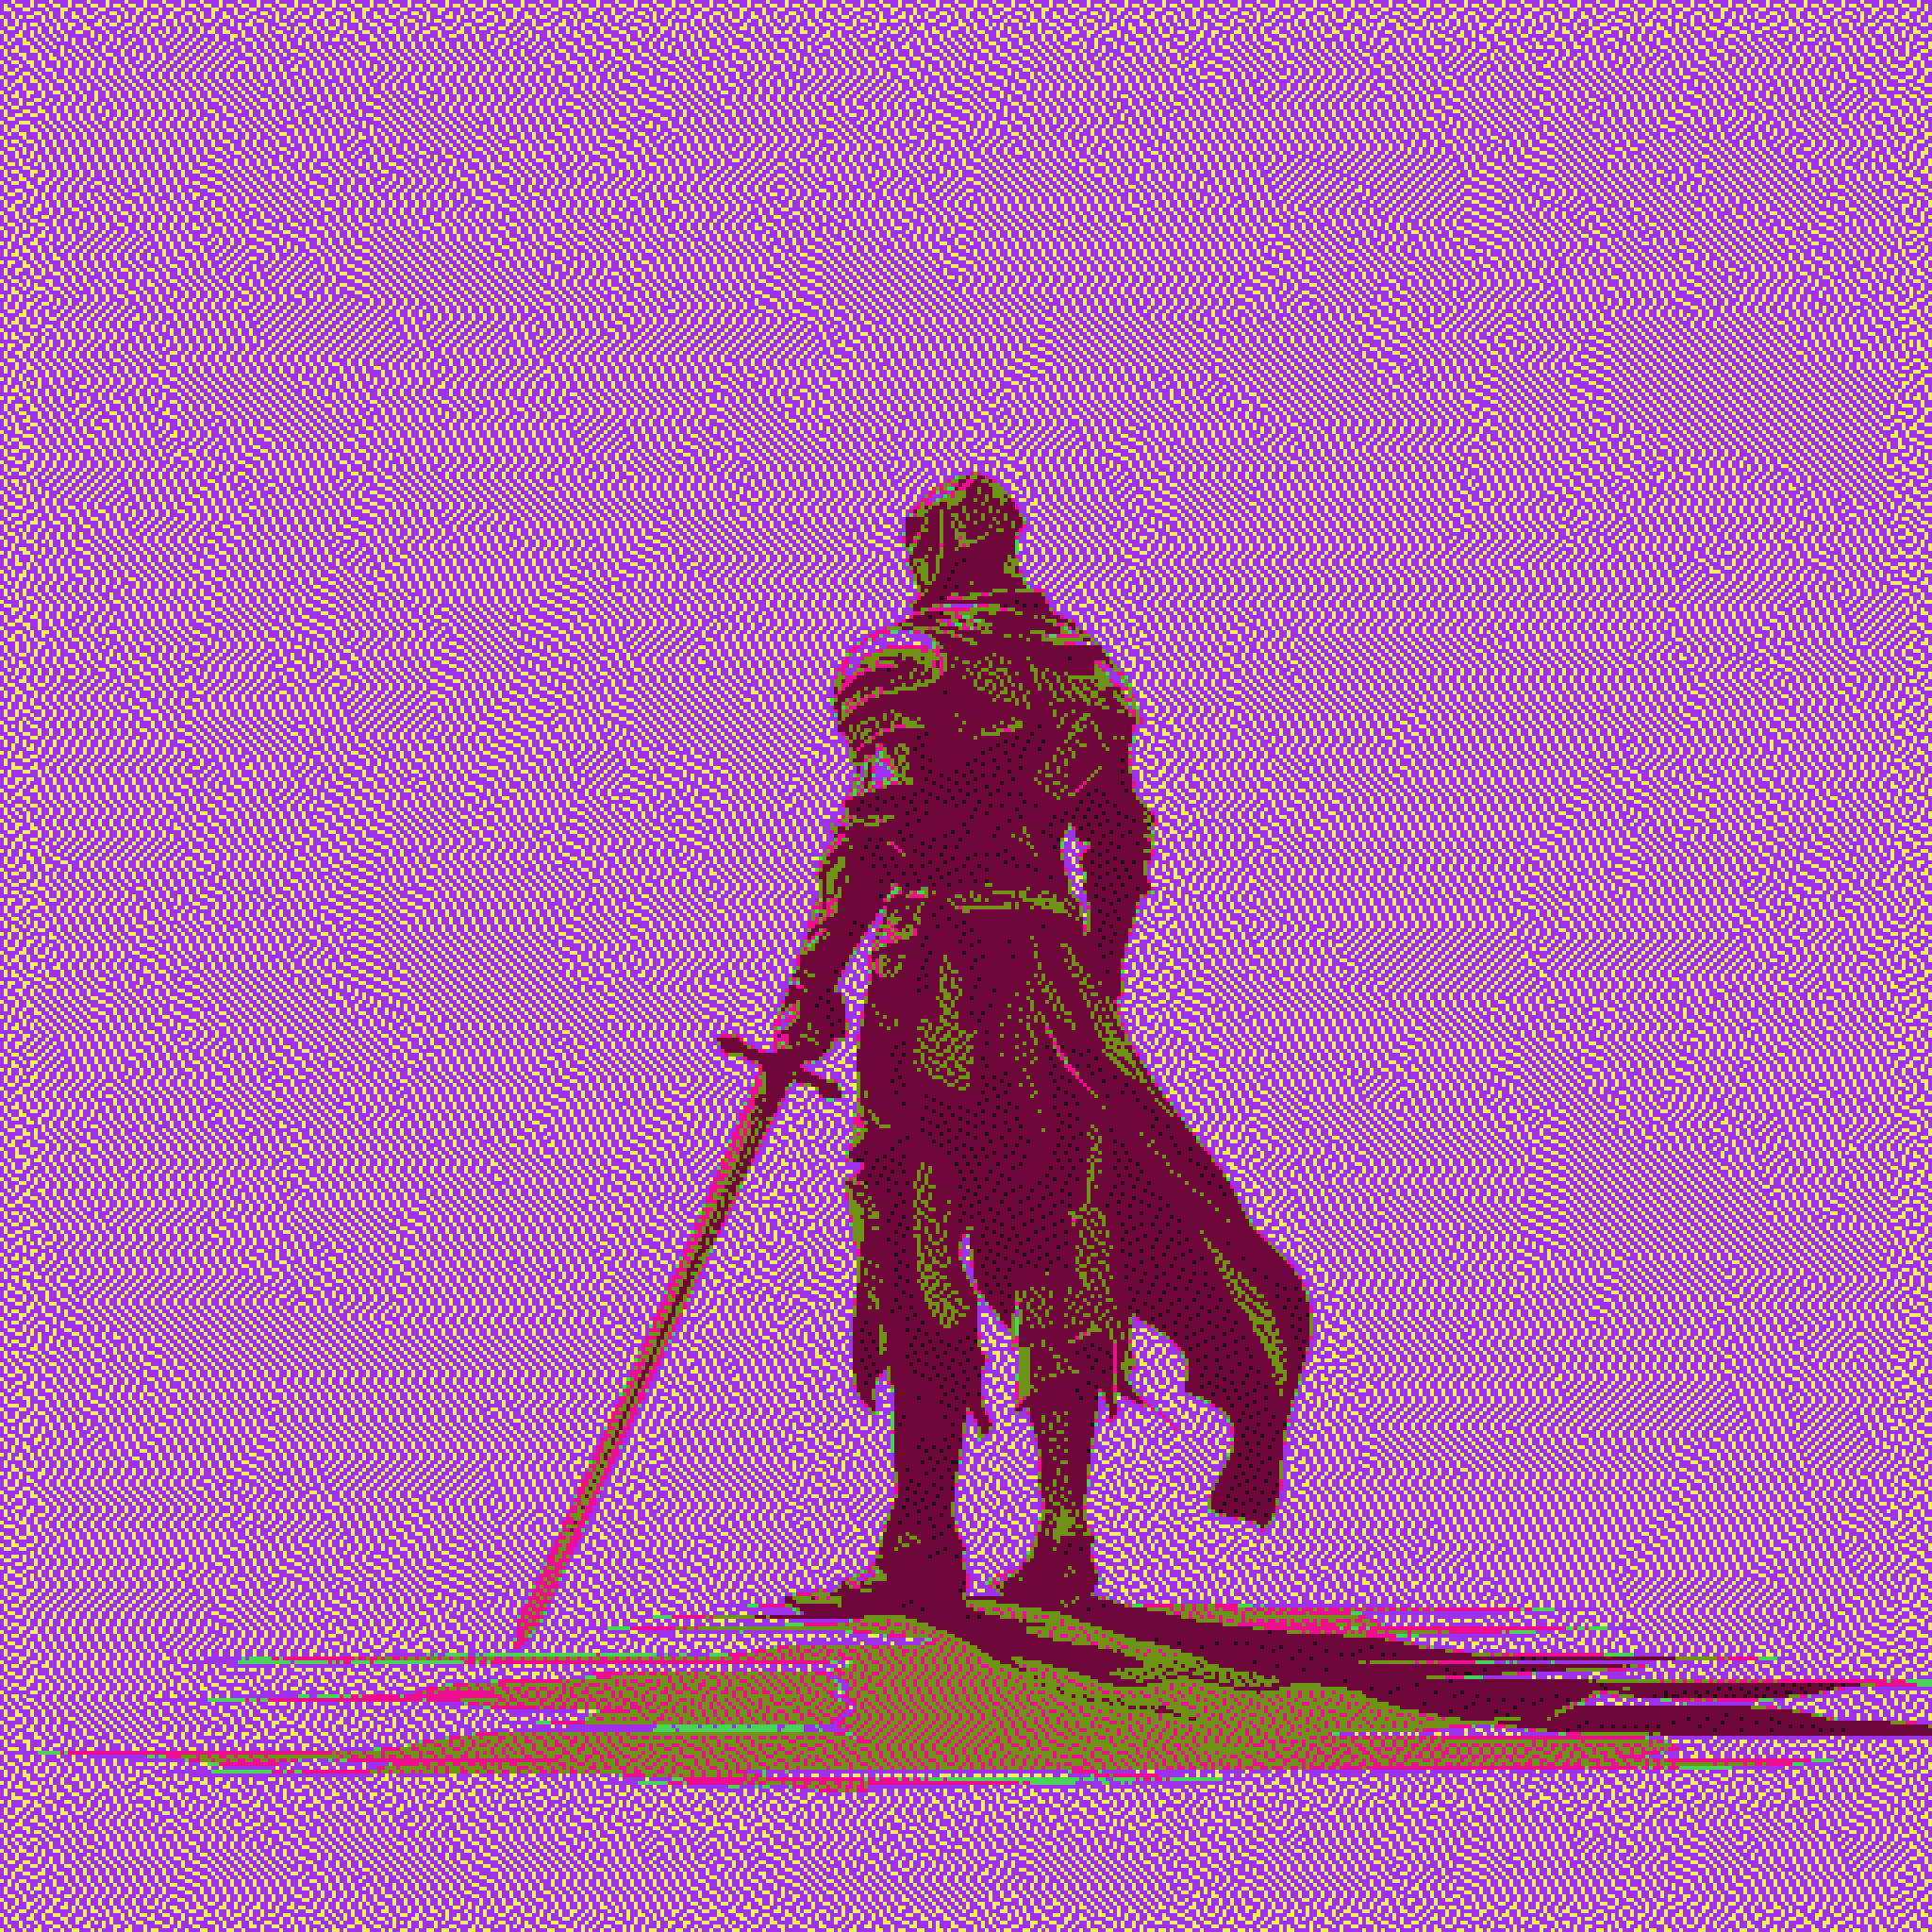
Of the many glitchy artistic techniques evolving out of the digital art world, sometimes it takes taking a step back to find something truly unique. That’s exactly what John Provencher did in his LORE series, and I wanted to do my best to recreate the effect and give you all something to try at home! Without further ado, let’s get into it!
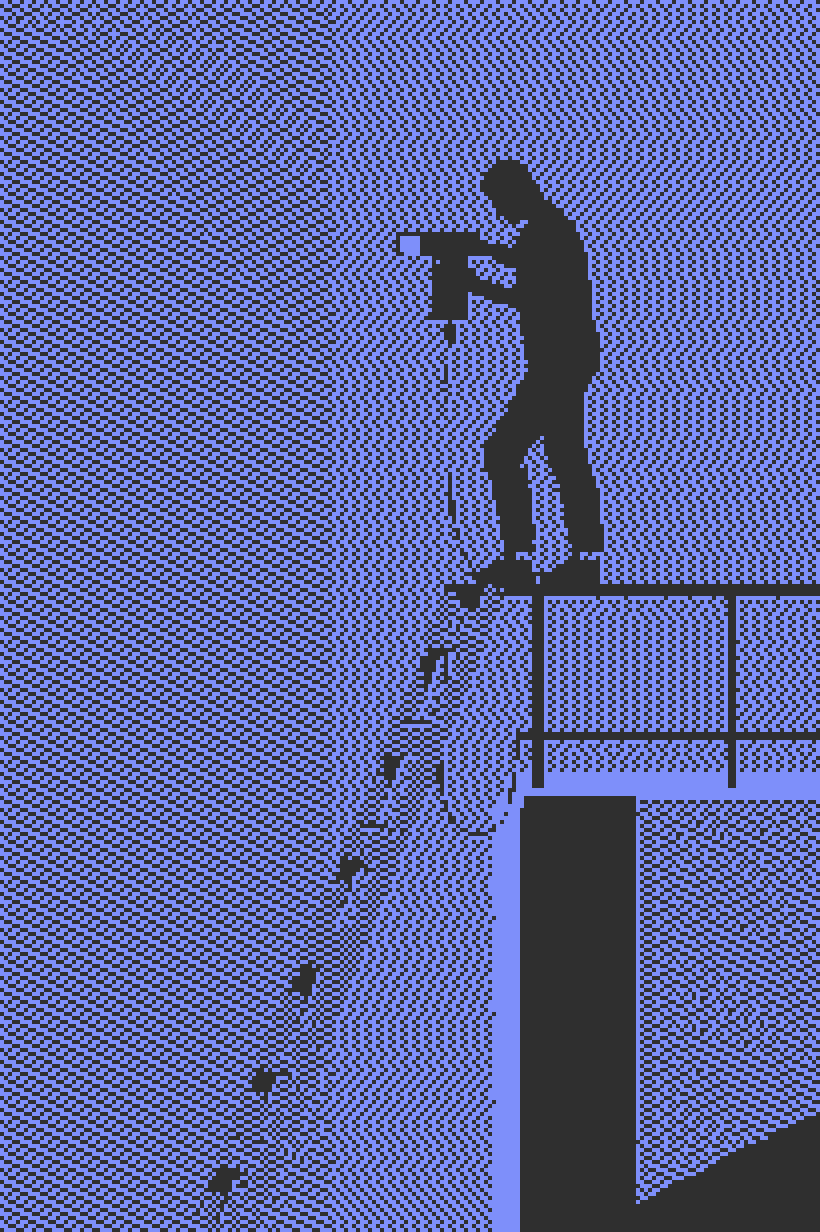
A point of comparison:
When comparing John’s outputs to this monochrome dither I did a while back, I noticed some similar patterns popping up. This is based on an error diffusion dithering algorithm, which distributes differences in colors into these patterns. Even subtle differences can ripple their way throughout a work with interesting results.
A way in:
It seems like that might be our in, but we need more color!
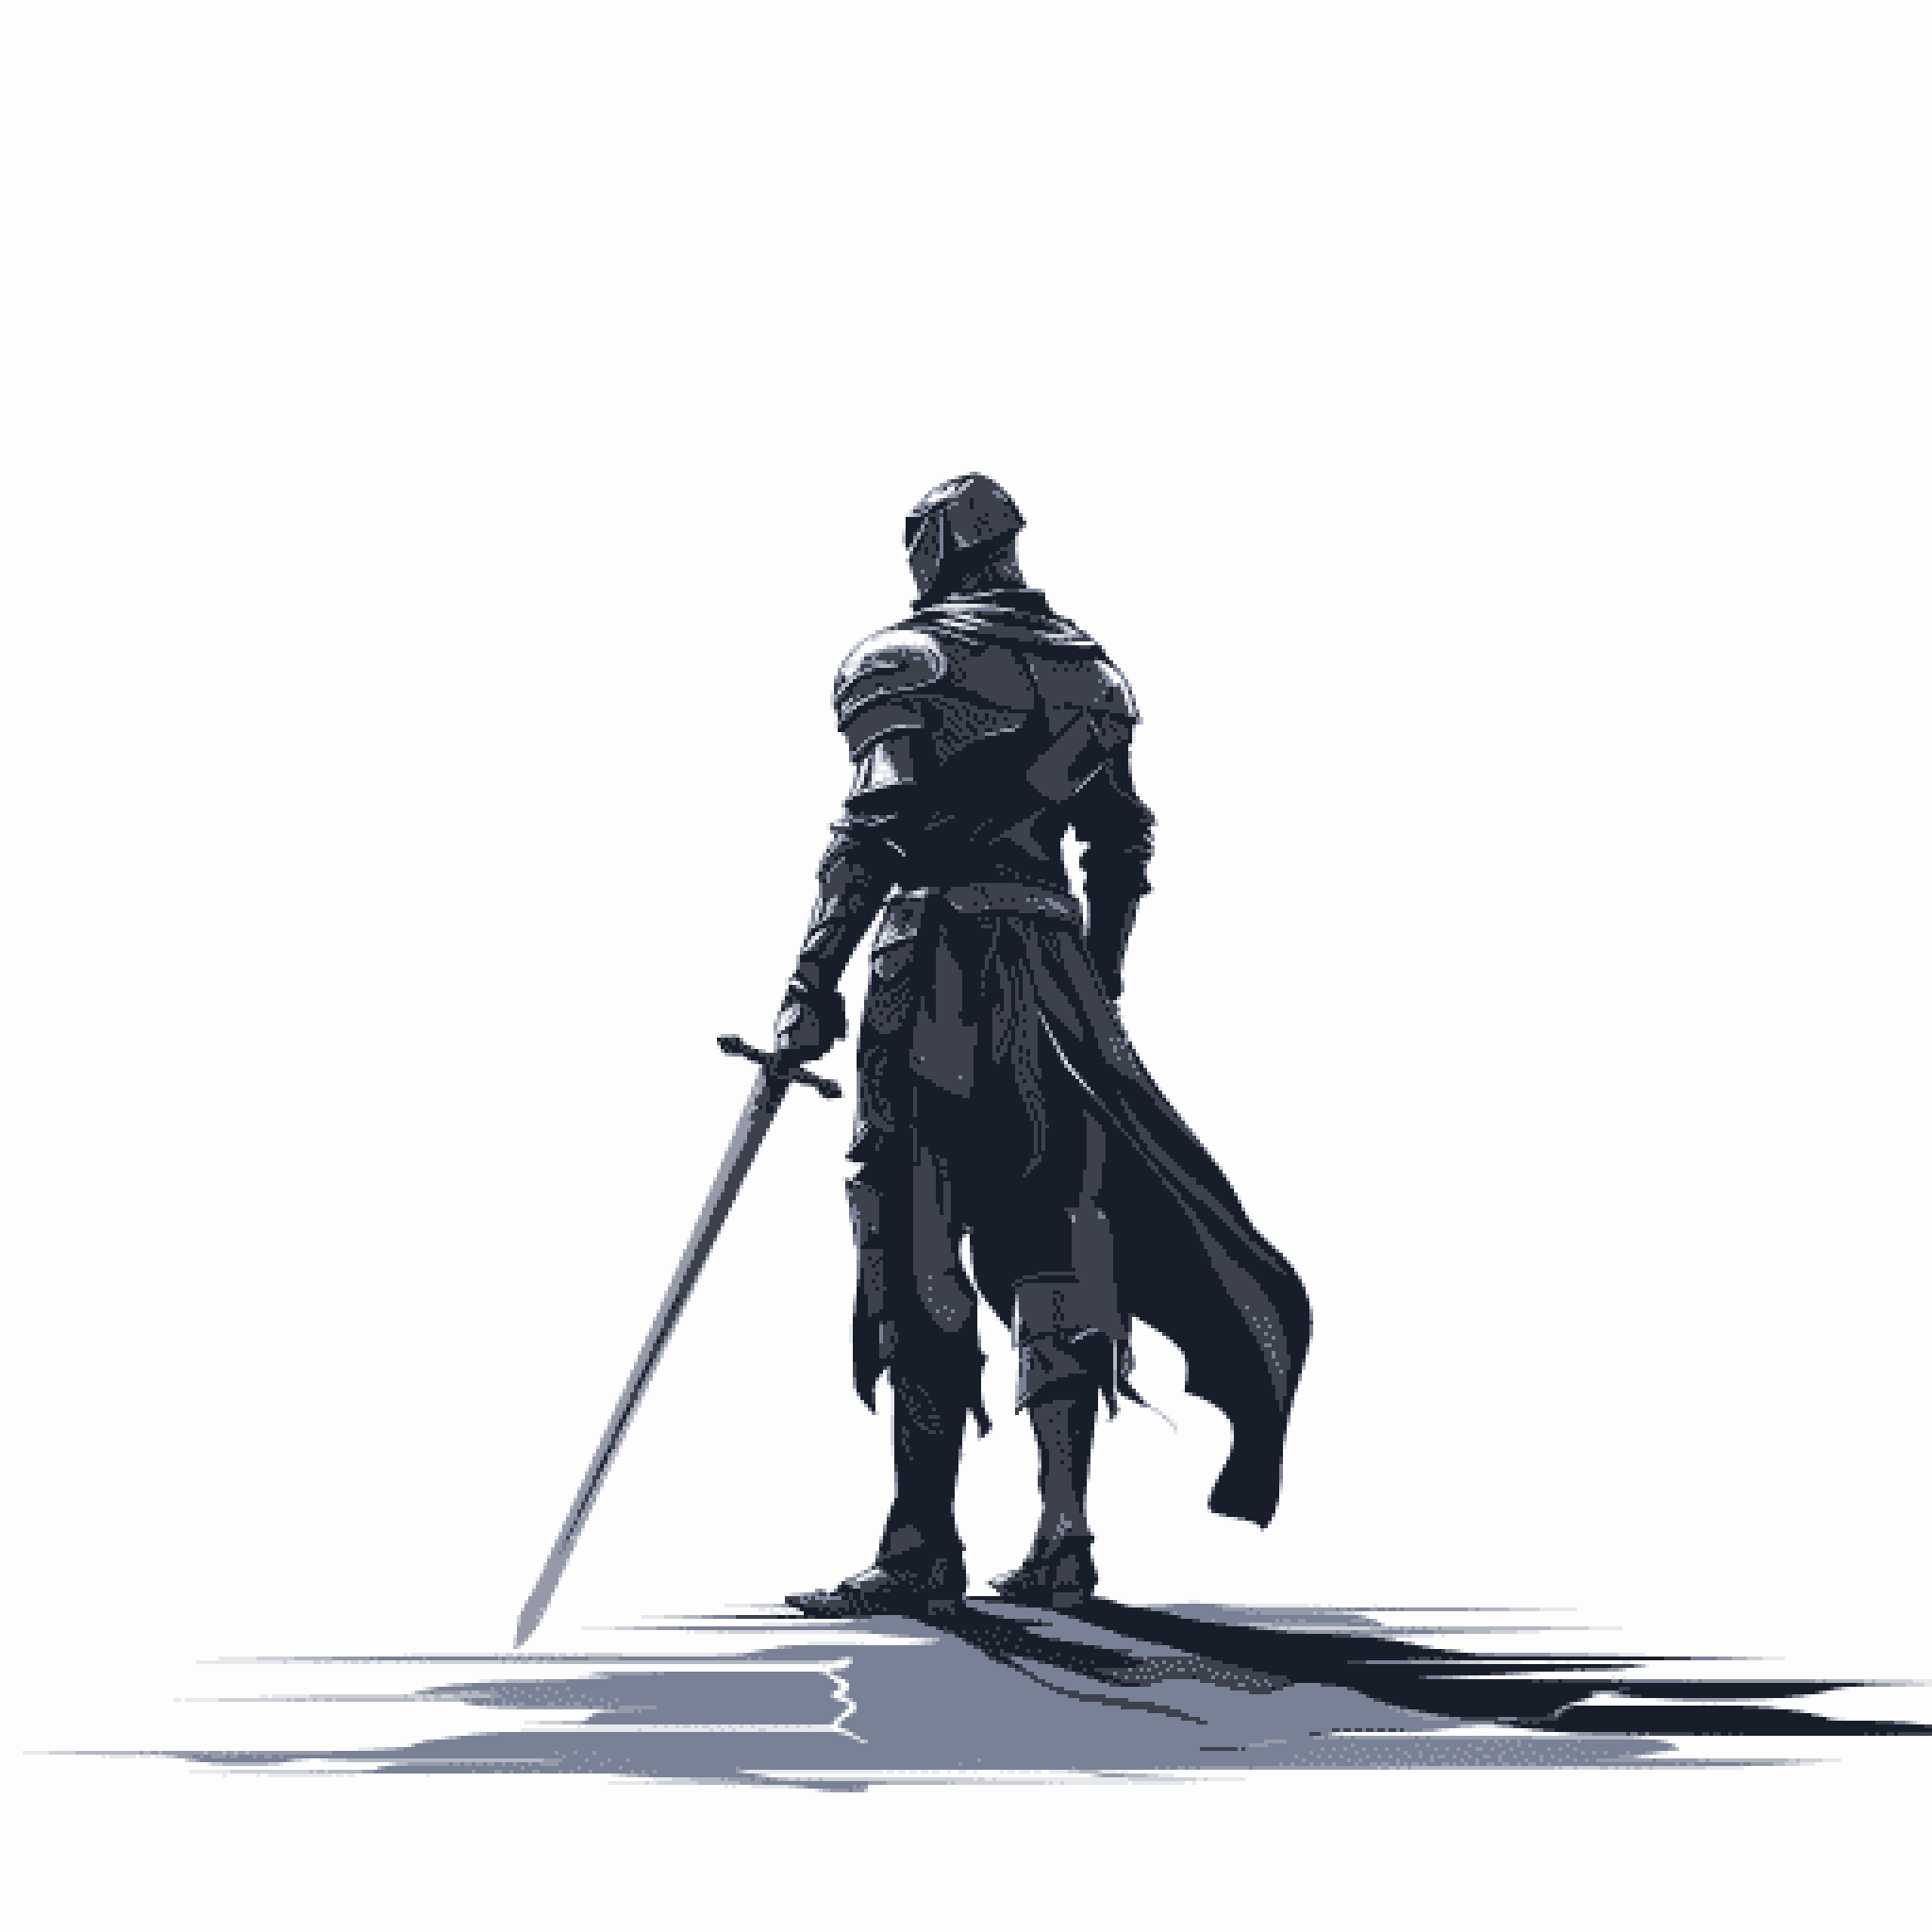
Typically, these algorithms are shooting for accuracy, so a proper dither might look like this
Adding color:
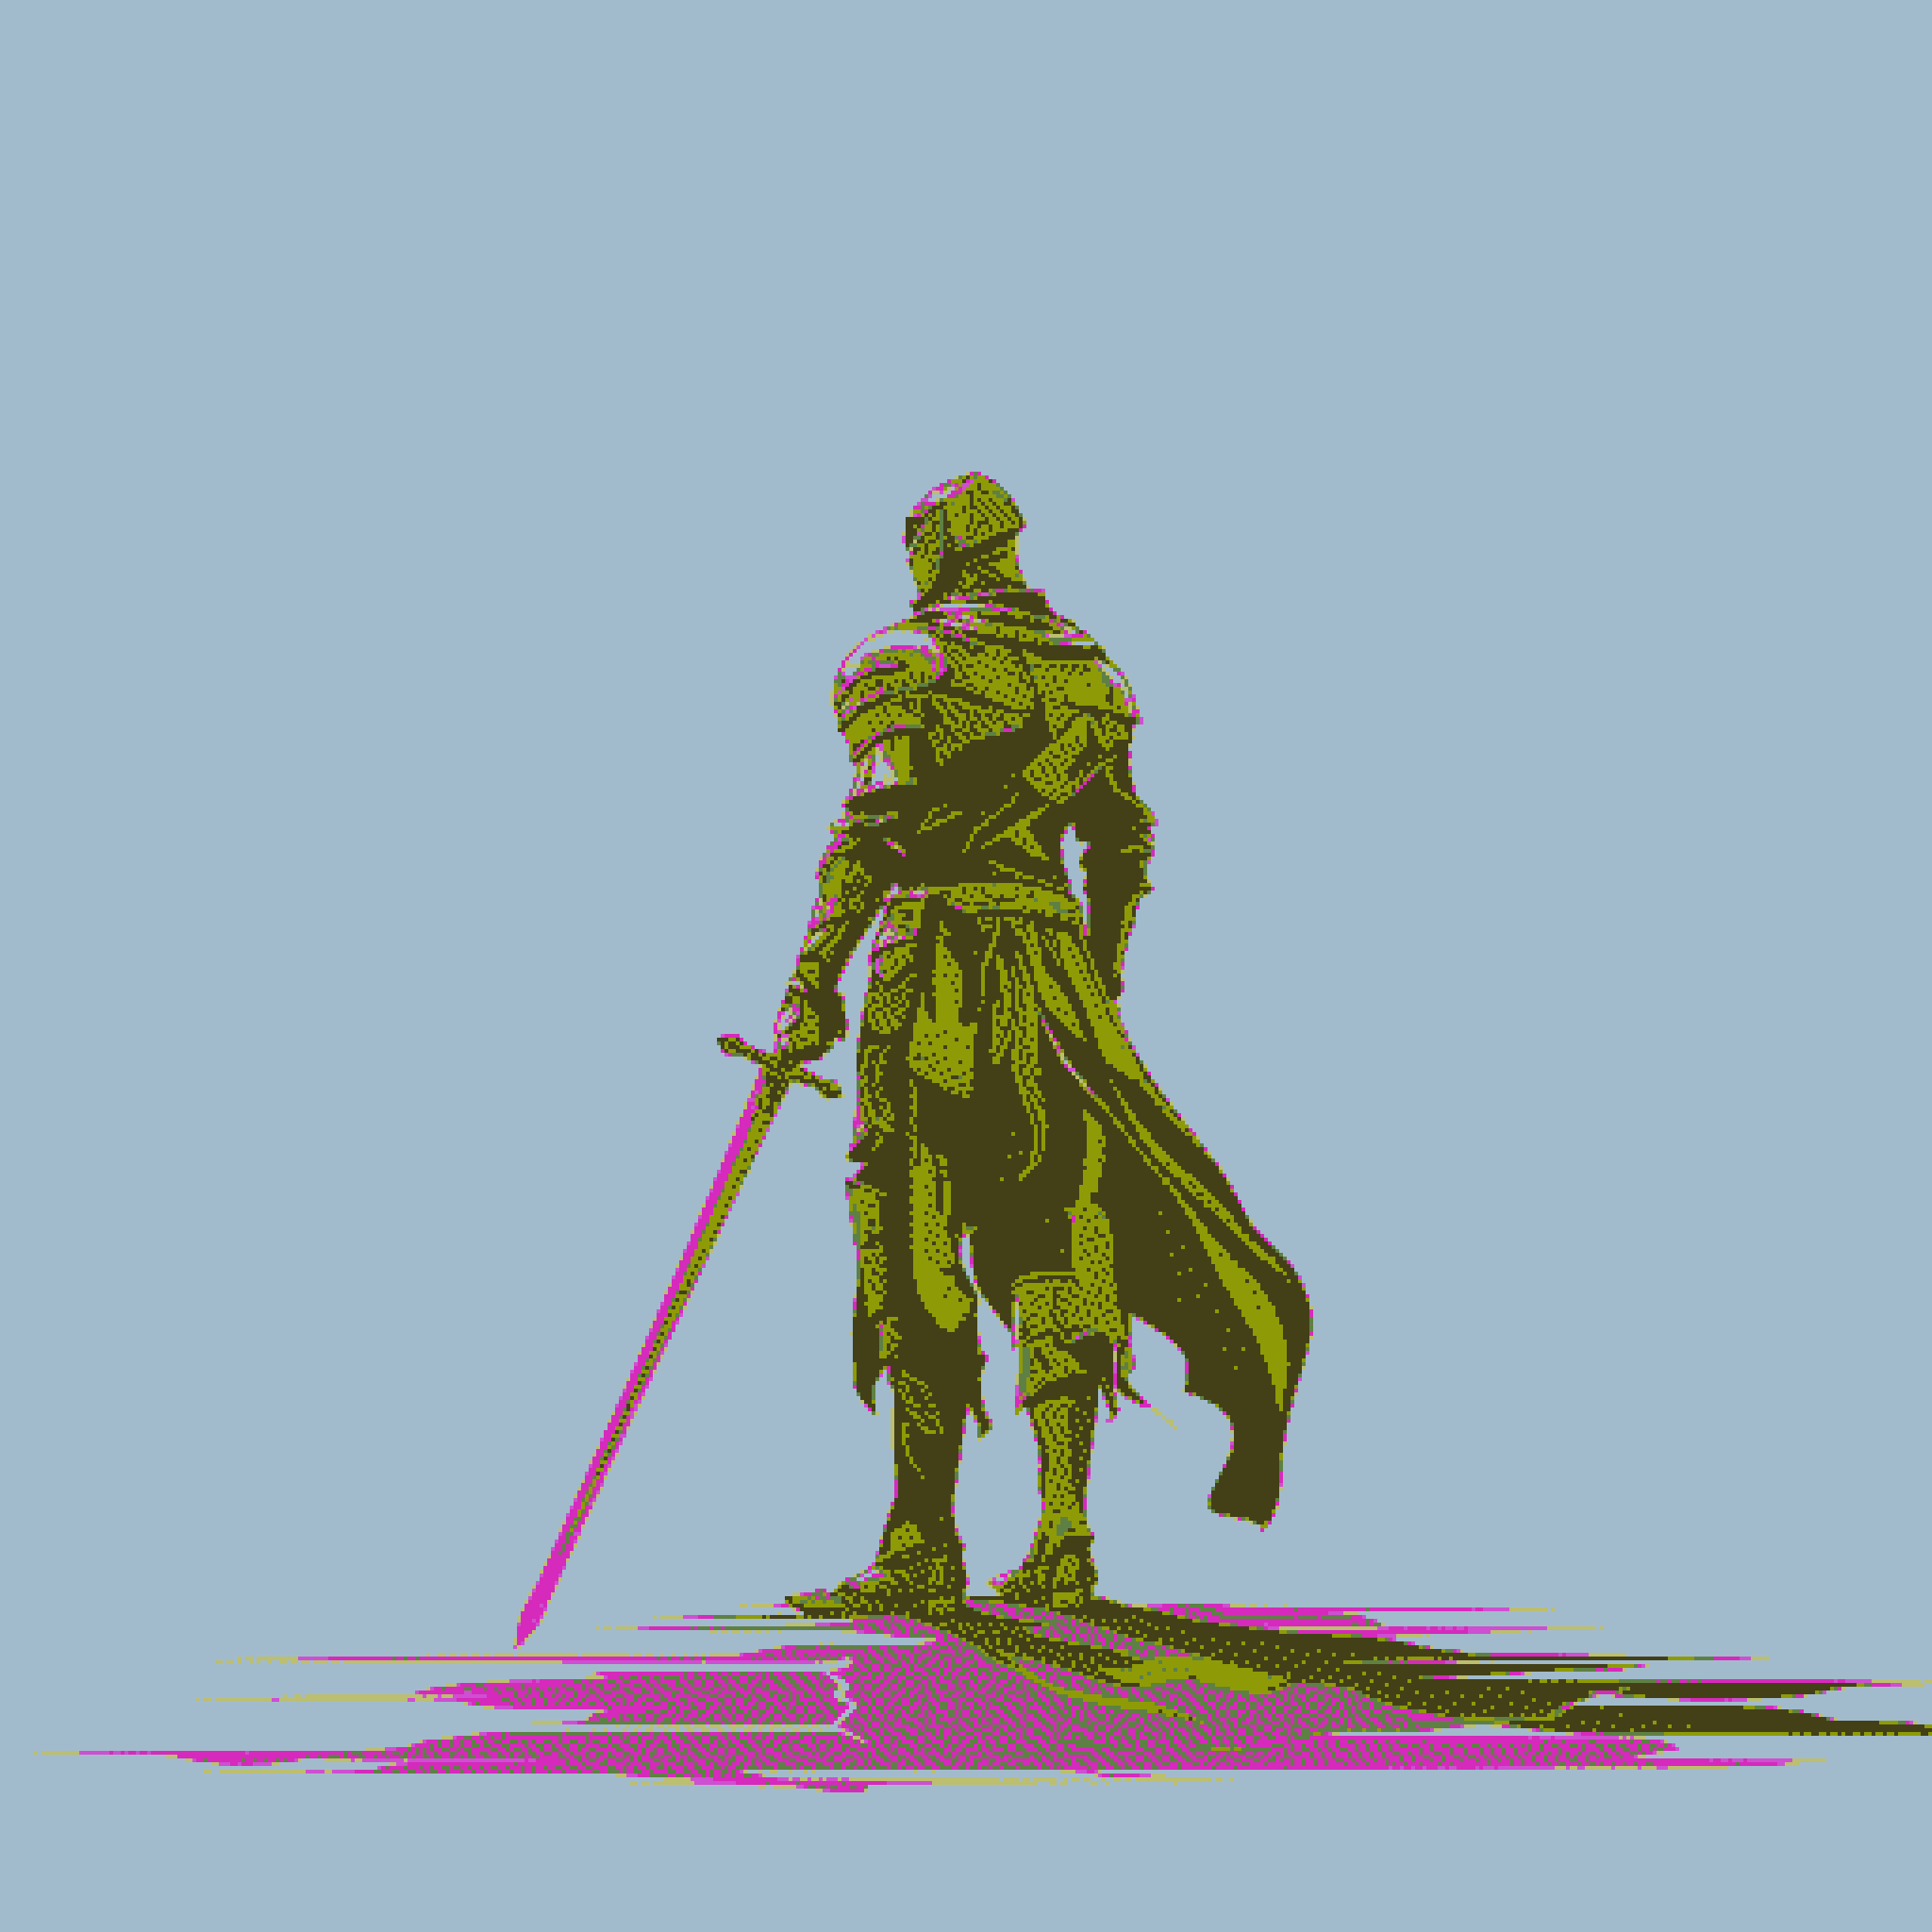
If we JUST introduce lots of colors, it still does its best to approximate the end result. This is really cool, but not quite what we're looking for. It just looks too… good?
Changing the scale:
An additional wrinkle we need to add is to switch the color comparison to "lightness"
Rather than trying to match the colors themselves, a lightness comparison will JUST try to match how light or dark a given pixel is. This provides a lot of color variation for free.
Cleaning things up:
The last step is that we want to use the full breadth of those colors. Since we're comparing how light or dark each pixel is, this means we want to broaden the spectrum of lightness.
The easiest way to do this is reduce contrast massively. This evens out everything in the source which in turn introduces those patterns and fun color differences in the output! This is because it adds little inconsistencies in the coloration of the background, which triggers cycles in the error correction of the dithering algorithm.
All of this can be done, quite simply, through my free dithering tool: dither.diid.art
We care about accessibility. Diither is free, ad free, and just a fun little tool for everyone to use. Without further ado, here is the recipe for creating the image you see above:
Algorithm: Atkinson
Color comparison: Lightness
Color algorithm: random palette
Click "Optimize" a few times until you get something workable.
In the image tab:
Pixelation: 1
Brightness: 85%
Contrast: 80%
That is a starting point! Mess with it! Namely:
Any error diffusion algorithm will work, and change the patterns you get in the end.
Changing brightness/contrast/pixelation will massively impact results
You can switch back to RGB comparison and drop saturation for fun!
Good luck, have fun, and happy dithering!


